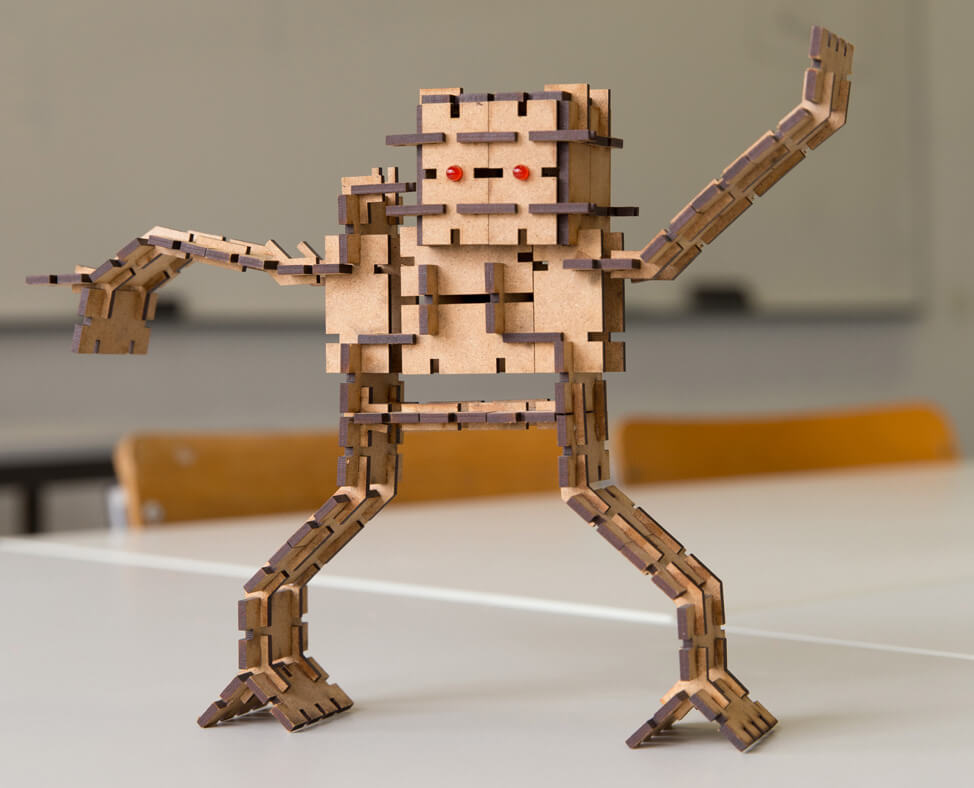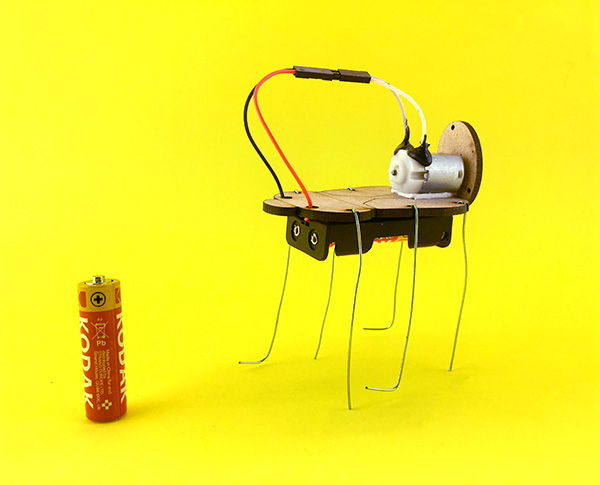
Desenvolvemos experiências educativas nas áreas das engenharias, artes e criatividade.
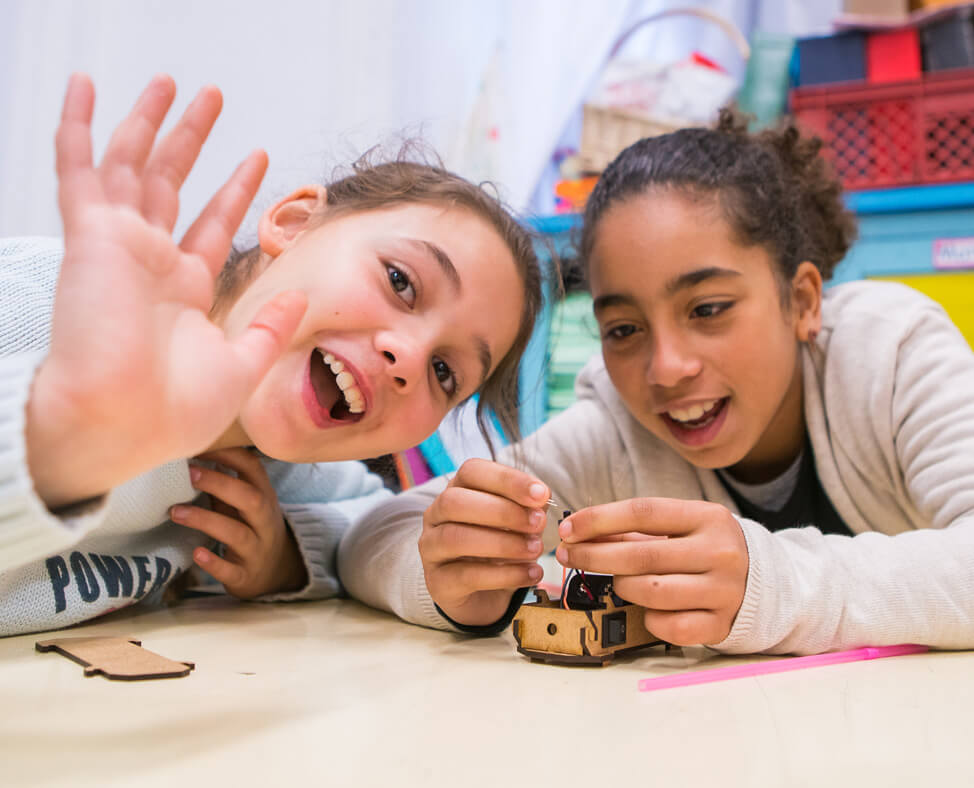
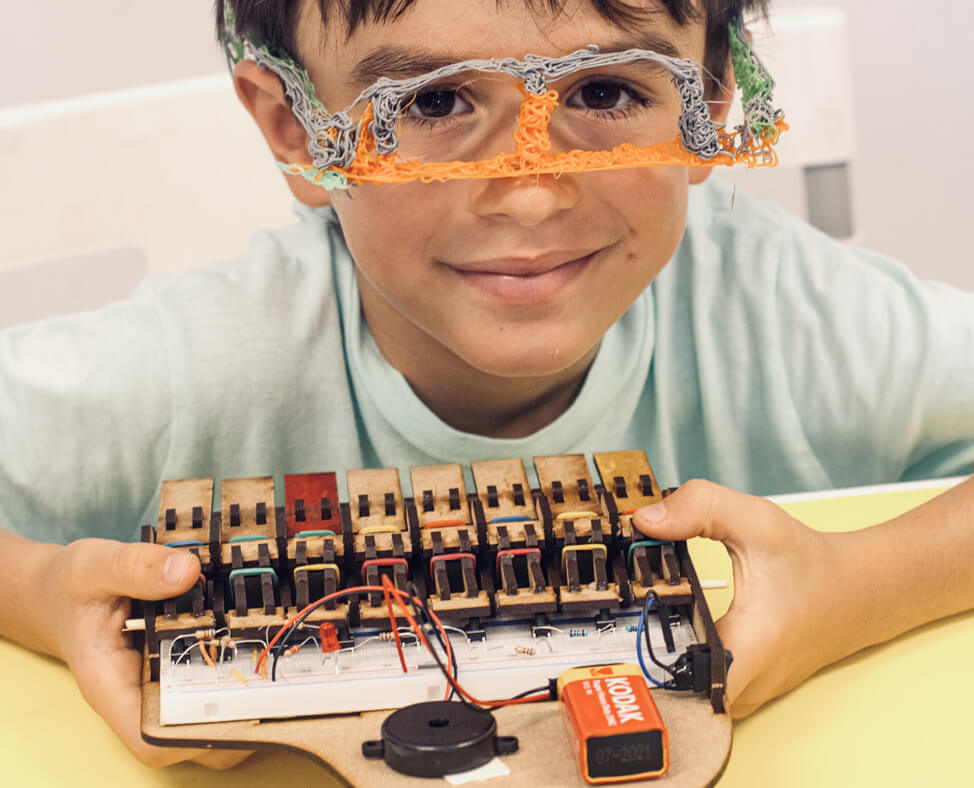
Atividades extracurriculares, campos de férias e ateliers: ao começarem a inventar, descobrem que são capazes de tudo!
Desde 2016 já trabalhámos com mais de 300 escolas e inspiramos quase 50 000 inventores.
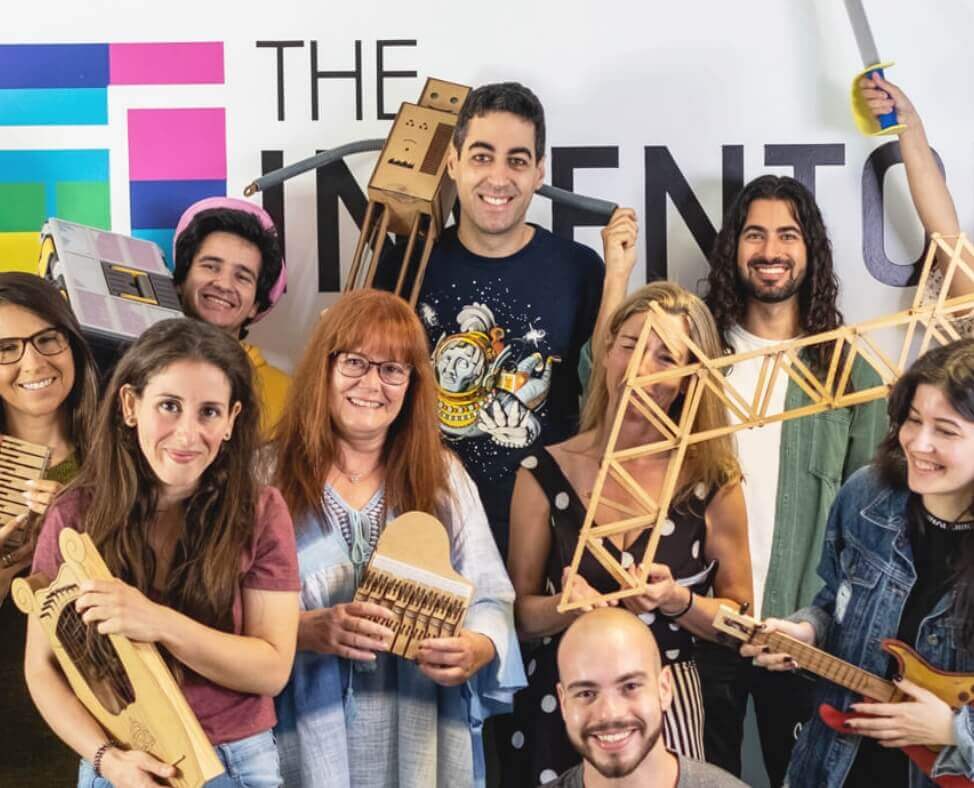
Com um background diverso e multidisciplinar, desde a tecnologia à multimédia, toda a nossa equipa tem um elo em comum: a criatividade!
Ao combinarmos o conhecimento das mais diversas áreas, o resultado só pode ser uma experiência educacional e criativa única.
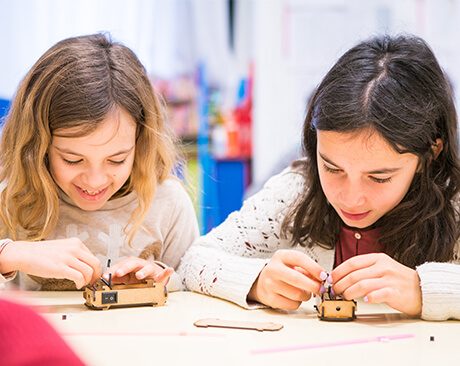
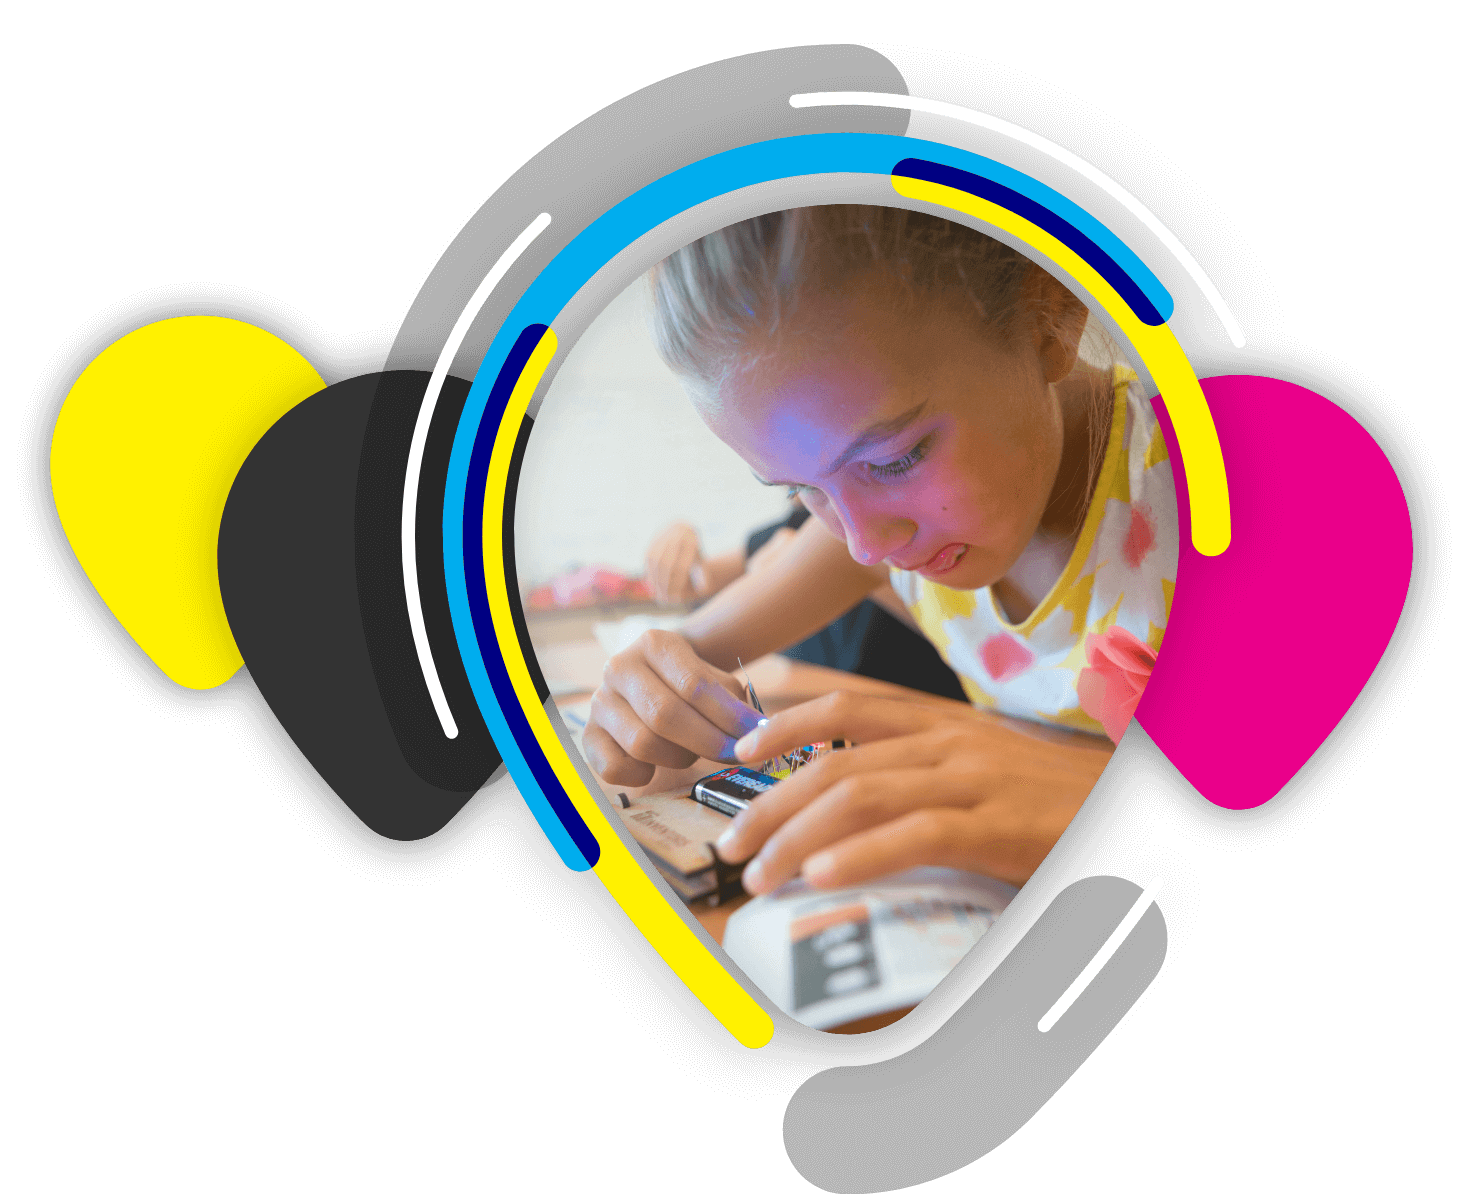
Desenvolvemos atividades para crianças do Pré-escolar ao 2º Ciclo.
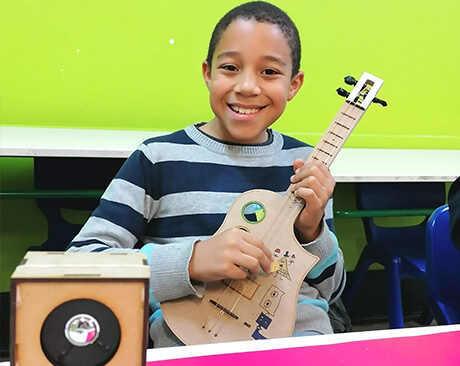
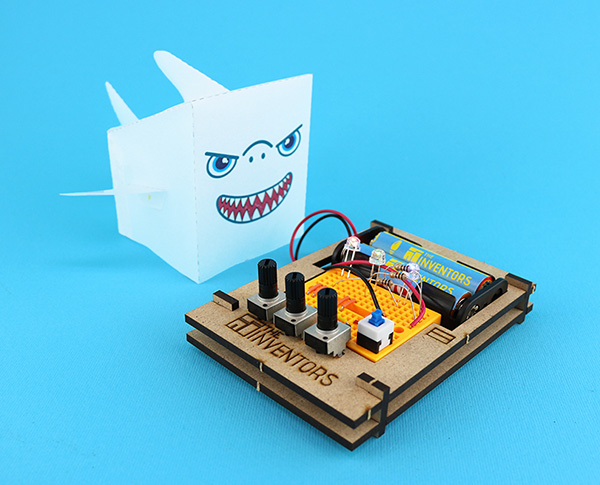
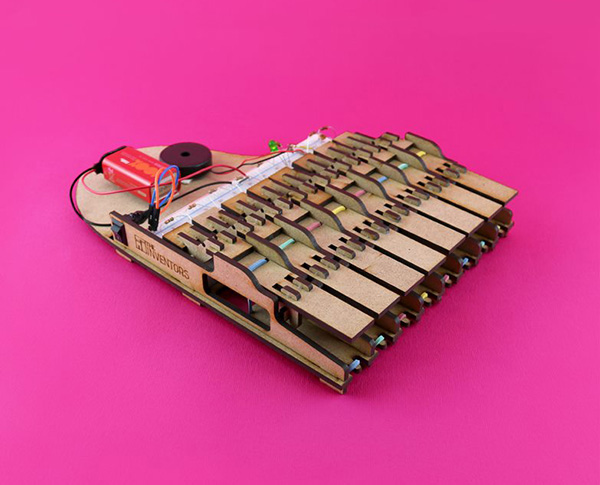
Atividades apaixonantes com desafios tecnológicos e divertidos.
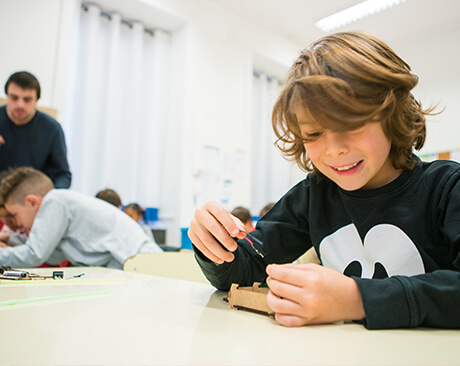
Atividades presenciais para inventar incríveis projetos